


I tried 3 different methods for these. I liked the look of the fondant one the best vs plain or with chocolate. What actually worked: Ann Reardon's video is a great starting point, however it was still difficult to get consistent results using her method. I found that sometimes they only crystallized a little, and others far too fast creating a flat look. So, I monitored them carefully and then manipulated the crystals with a fork while drying. Another important note: the ones with more pink food coloring did not crystallize as well. This process really was trial and error. I would recommend starting with small batches until you perfect it.
I stuck with a very simple sugar and corn syrup mixture. You can find instructions from Alana Jones-Mann here, but it's just as easy to make in the microwave as shown by TheSquishyMonster here.


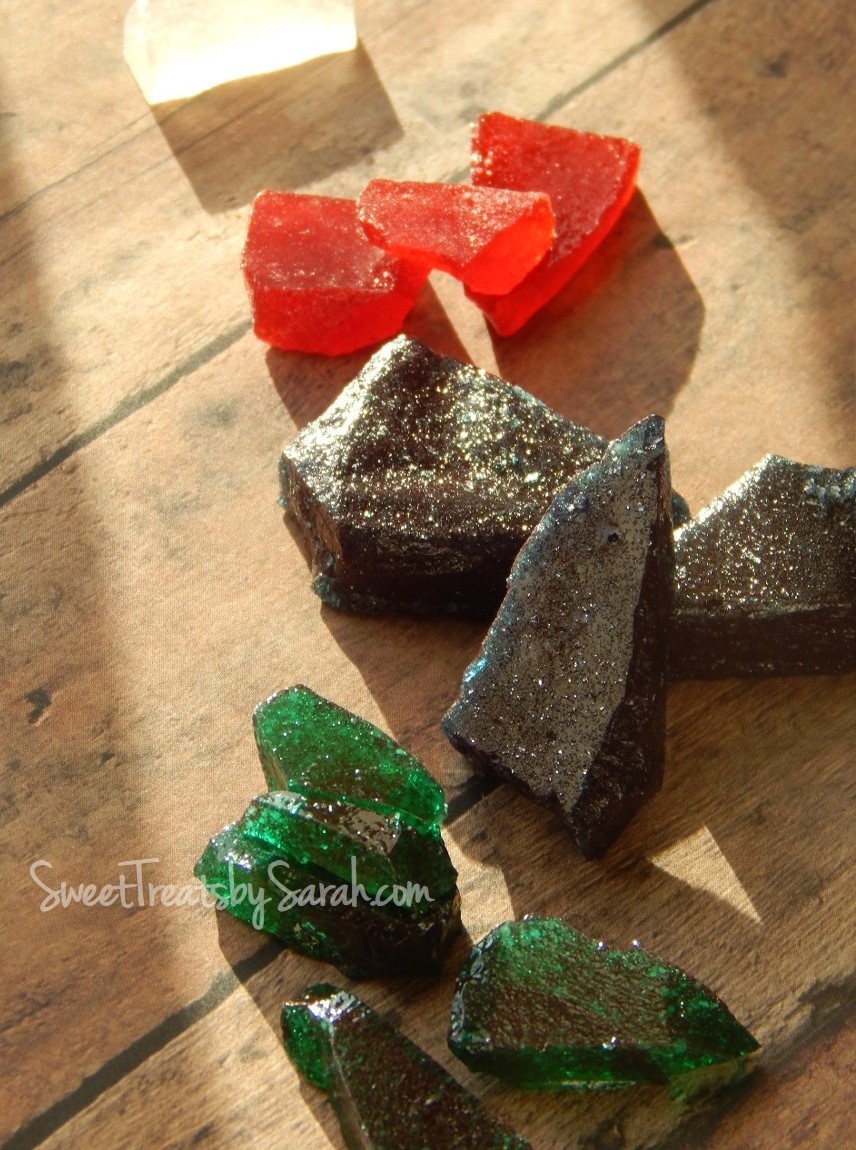
Rock Candy Topper (a/k/a the Tricky Part)
You'll notice the above image is different from the topper on the cake. Well, that's because this one did NOT work! I used pre-made rock candy and smashed it into small pieces. Then I laid them out in the 8 shape and used the same hot sugar candy solution from above (careful it's extremely hot) to "glue" it together. After that I poured another sugar candy base and placed the 8 in it while still hot. Ok, so far so good. Now here's where things go wrong. I used clear rock candy for this topper. I then painted the food coloring (diluted with vodka) onto the rock candy. I used a gold highlighter on the edges (highlighter should not be eaten). It looks fine, except.....suddenly it broke. Like really, really broke. Apparently the painting began to break down the rock candy! All efforts to repair it failed. So, I started over and made the 2nd topper from a pre-colored, pre-made rock candy. It held together much better. In hindsight, I think isomalt nibs would have made this project much easier.

Similar to Alan Jones-Mann's tutorial, I made these using fondant. I did not however use royal icing. I used a 50/50 mix of corn syrup and vodka on top of the fondant and then applied my food coloring using a brush. They were super shiny! The photo doesn't show the shine very well.

My little man had some CRAZY demands this past year as well. He really wanted me to create all edible characters from The Nightmare Before Christmas for his cake. Sadly, mom just didn't have the time. Instead I opted to paint a few onto the cake. It was a bit rushed and it shows. I used a string of battery opperated lights and just laid them on the finished cake. ...and once again, I didn't take a nice photo. Oops again.


No comments:
Post a Comment
Note: Only a member of this blog may post a comment.